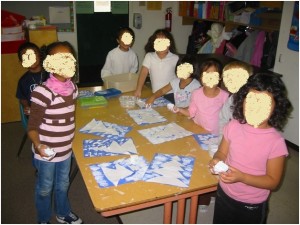
 Here’s a quick and easy way to weave some math practice into an art activity. You’ll need a sheet of 9×12″ blue construction paper and three squares per student out of plain white copy paper (of course, construction paper will work, too, but it’s not necessary). You can vary the sizes depending on how big you’d like the trees to turn out, but the ones pictured were 5″, 4″ and 3″. That’s IT! You’ve now finished prepping this activity!
Have your kids cut the squares in half to create six triangles, then arrange them in order from largest to smallest. If you haven’t had your kids practice cutting squares into triangles before, you may want to have them show you (or someone else) where they plan to cut with their fingers before they cut with scissors. It can be a challenging concept at first! We glued ours down with glue sticks, and then decorated our finished trees with a small piece of sponge dipped in a little white paint to add some extra “snow”.
This activity is a great opportunity to review the properties of squares and triangles and the concept of bigger and smaller.

Leave a Reply