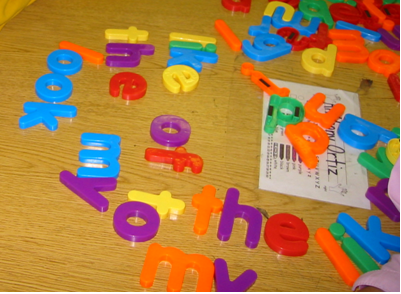
 Have a tub of magnetic letters in your classroom? Looking for ideas for hands on learning? Look no further! Here are 10 easy and quick ways to use those letters with little to no prep required!
1) Sort magnetic letters by color. Great for the beginning of the school year, or just for a quick review of colors at any time. Want to extend the learning? Create a graph showing the number of each color.
2) Sort magnetic letters by shape. Letters with curves (a,b,c, etc) go in one pile, and letters with straight lines (aka “sticks” – k,l,t, etc.) go in another. Again, this activity would be great for the start of the school year when you’re just getting your kids used to working in a group with materials and introducing them to the letters. It would also work great for working on graphing later in the year.
3) Sort by vowel/consonant. This is a harder twist on the first two sorting activities. Of course, you could always graph the results!
4) Search for the letter of the week. Put a big tub of magnetic letters in the center of a table and have your kids search for the target letter. The best thing about this activity? Every time you focus on a new letter, this activity is all new again!
5) Write your name. Great for the beginning of the year! You could always scaffold this activity by providing your kids with their name written out. It could be large enough for them to physically place the letters over the written ones, or smaller so that they use it as a guide and have to arrange their magnets on their own. Kids already pros at their names? Write your friends names!
6) Put the letters in ABC order. Practice singing the ABCs – as you find the letters! Children could easily work together to put the letters in order as they sing the song to help them. Provide a strip with the alphabet written out to make this easier, or have students do it independently for more of a challenge.
 7) Letter matching. Have letter flash cards in your room? Or a set of blank index cards and a marker? Students choose a card and find the matching letter. Too easy? Make the cards lower case and use upper case magnets, or vice versa. You could also use a decorative ABC strip (the ones you put up on your wall) and have your students match the letters to that (look for these at the dollar store). Students need more help matching letters? Trace them onto a file folder, then color in each letter. (Laminate for longer wear). Now you have a matching game where the letter should match exactly for children needing more support.
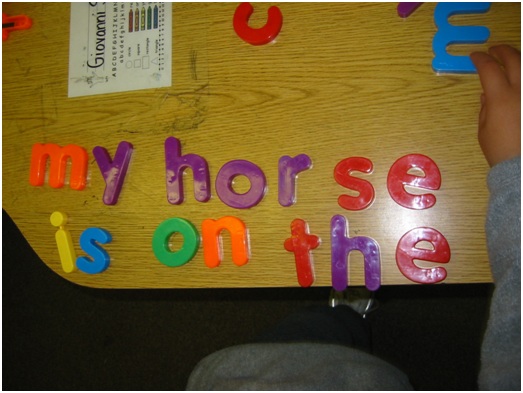
8) Write sight words. This activity works well all year long, as your students keep mastering new words. Again, you could differentiate by providing cards where struggling students could match the letters right on top of the sight word already written out, while others use the cards for reference only and kids who find this activity even easier could simply write words from recall alone.
9) Write CVC words. Working on short a? Rhyming words? Provide cards for matching or merely reference, or brainstorm on the white board before your students find the letters and make their own. They can always record their words on some scrap paper if you’d like to extend their learning.
10) Write theme words. Transportation unit? Farms? Grab a poster or brainstorm some related words on the board and your kids are ready to write them with magnets. When they’re done, they can always write them down on paper. You could either provide an official recording sheet, or just have them record the words on scrap paper for further practice. Of course, there’s always the chance they won’t stop at just words…

Leave a Reply